Nails
Do You Want to Do At Home Nail Art Like a Pro?
Few things can make you feel more pampered and put-together than a gorgeous manicure. Unfortunately, regular trips to the salon can become a huge drain on your bank account, especially after you tack on the charges for extras—like matte polish or tiny painted flowers—that really make your manicure feel complete.
You don’t have to blow half your paycheck to get a professional manicure complete with Insta post-worthy nail art. Learn the ins and outs of inexpensive DIY nail art to get creative with your manis from the comfort of your own home.
1. Use Stickers
Go and get your nails did!
If you struggle with creating at-home nail art that doesn’t look like an elementary-schooler’s art project, you’re not alone. No matter how steady your hand is, it’s hard to paint intricate onto your nails, especially the straight lines and complex shapes required by French tips or geometric patterns .
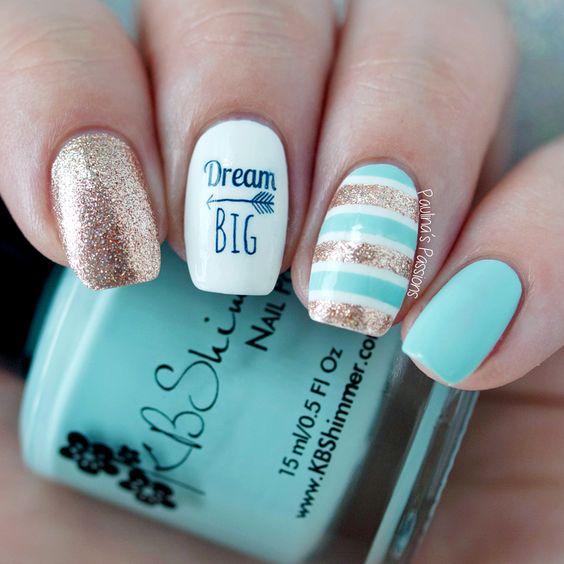
You can find a wide variety of stickers designed specifically for creating neater, more professional-looking nail art more easily. Look for stencil-like nail stickers at your local beauty supply store. If you can’t find pre-made stickers that match the design you want, you can create your own sticker stencils using standard Scotch tape. To get the best results from your stickers or tape, apply a base coat over your nails and let it dry before pressing the stickers lightly onto the surface of your nail. Let the polish you paint over the sticker dry completely before peeling off the sticker and sealing your look with a clear top coat.
2. Head to a Craft Store
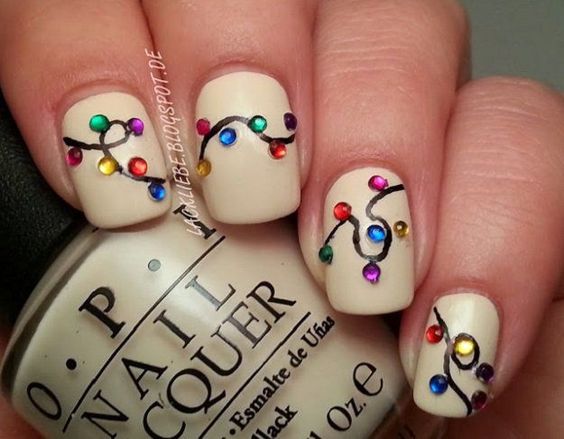
11 Holiday Nail Art Designs Too Pretty To Pass Up – Makeup TutorialsFacebookGoogle+InstagramPinterestTumblrTwitterYouTube
When it comes to at-home nail art, craft stores are a true gold mine. A wide variety of the products sold at most standard craft stores can inspire your creativity and expand your options for DIY nail art. Plus, the products you can find at craft stores are often just much more inexpensive versions of cosmetic items sold specifically for nail art purposes.
Visit your local craft store to find rhinestones and plastic jewels in an endless variety of colors and sizes. Use acrylic nail glue to adhere these jewels over a base coat of polish to add instant flashy elegance to your manicure. Or, grab a container of colorful loose glitter. Sprinkle the glitter over the top part of your painted nails and seal it in with a clear top coat for a flashy, party-ready look.
3. Freehand It
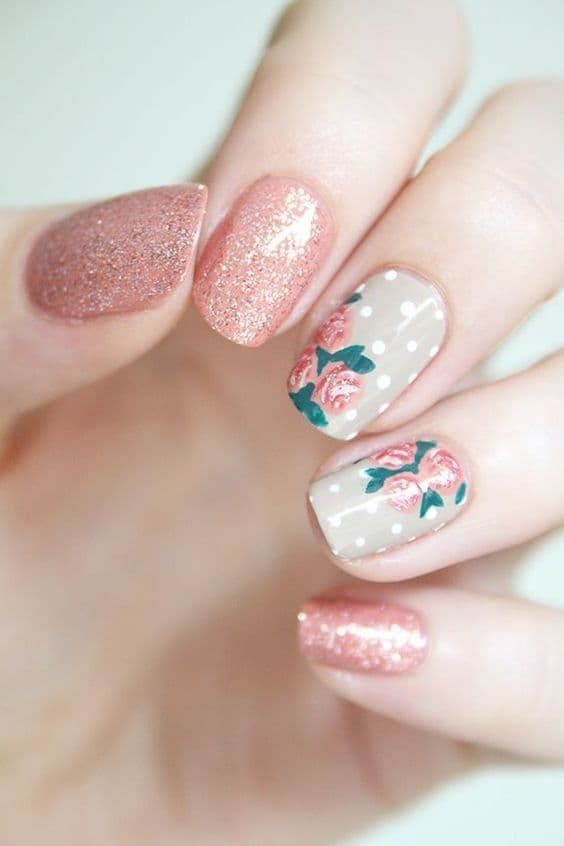
Best Spring Nails – 24 Best Spring Nails for 2018 – Hashtag Nail Art
While tools like stickers and bobby pins can be very helpful with DIY designs, they’re not always necessary for creating a professional-looking nail art. You can probably successfully freehand more patterns than you think.
Practice holding your nail brush at different angles to paint simple yet creative geometric patterns. Start with a neutral base coat and swipe colorful polish diagonally across your nail or across its base for a bright pop of color. Don’t worry about getting polish on your skin. Just use a small paintbrush or makeup brush dipped in nail polish remover to get rid of any residual polish on your skin.
4. Grab a Sponge
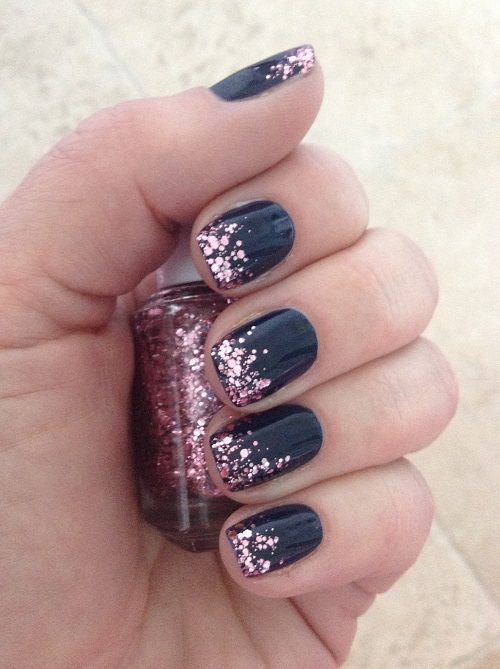
Navy with Glitter Tips Elegant Nail Design
If you just don’t have the patience for struggling with intricate floral designs and geometric patterns, you can still create gorgeous nail art just by experimenting with different polish colors in the same look.
Start by cutting off a small section of an old kitchen or makeup sponge. Paint your nails with a light neutral or pastel color. Let that first layer dry, then dip your sponge in a brighter or darker polish shade and dab it lightly over your nail. Sponge the polish across your entire nail for a speckled finish, or create a gradient of colors by applying the second color only to the tip or base of your nails.
5. Play with Polka Dots
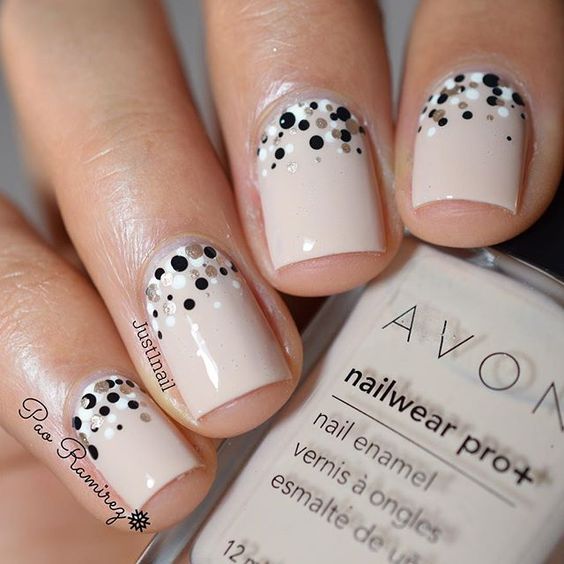
Paula @just1nail Little dot gradie…Instagram photo | Websta
Polka dots are one of the most simple nail art designs to create, but there is plenty of room to explore this predictable pattern in more creative ways to create a wide variety of unexpected, eye-catching looks.
Create an elegant, low-key look by painting your nails with a clear base coat and applying one or two dots to the base of each nail. Or, put a whimsical twist on French tips by lining the tips of your nails in a straight row of polka dots. Pro tip: to create more even, consistent polka dots, apply your dots using the round tip of a bobby pin dipped lightly in polish.
6. Cheat with a Marker
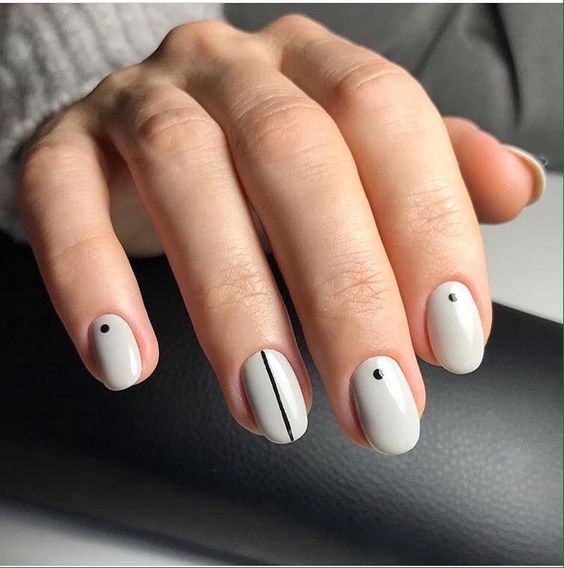
Accurate nails, Beautiful nails 2017, Easy nail designs, Everyday nails, Nail art stripes, Nails trends 2019, Polka dot nails, Round nails
When all else fails, you can bend the rules of nail art and use a marker to draw your patterns and designs. No matter what tools you use to your advantage, using nail polish to create intricate designs on a space as small as your nail beds feels awkward and often ends up looking sloppy. Drawing on your nails with a marker will likely help you feel much more comfortable and in control and create a neater finish.
Start by painting your nails with a base color. Wait for the polish to dry and hard completely. Then, draw on your desired design using a permanent marker in a color that will show up over your polish—i.e. black marker over white polish or metallic marker over black polish. Let the marker dry for a minute before sealing it onto your nails with a clear top coat. Another perk of marker nail art is that it’s mistake-proof. If you mess up your design, wet a cotton ball with rubbing alcohol and wipe it across your nail to remove the marker while leaving the layer of polish underneath it intact.
7. Keep it on One Hand
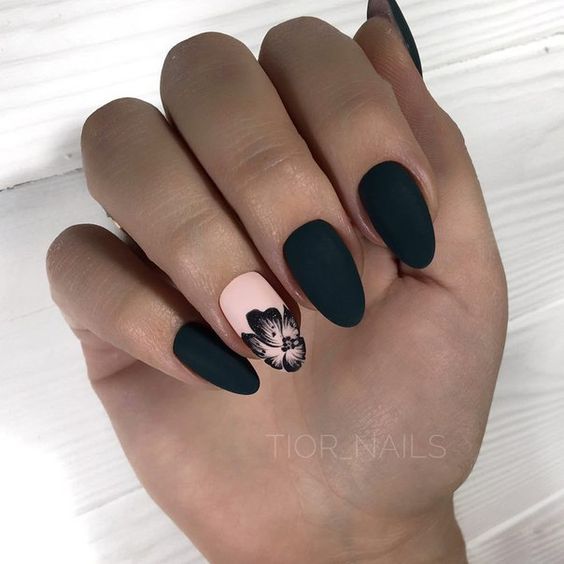
Красивые ногти. Маникюр. DivaNail
Arguably the most difficult part of doing nail art on your own nails is painting the nails on your dominant hand. Using your non-dominant hand to paint any kind of pattern or design onto your nails seems to lead to smears and frustration more often than not.
Fortunately, there’s no reason to feel like you have to paint the exact same design onto every single one of your nails. In fact, some of the most gorgeous nail art looks are asymmetrical. Be creative with your nail art designs and think about how your painting skill level shifts depending on which hand you’re using. Consider confining your most intricate art to your non-dominant hand and creating a more simple design for your dominant one. For example, paint a flower on the middle finger of your non-dominant hand and opt for a bright accent nail on the same finger of your opposite hand.

KellieGonzo: Guest Post by Paulina’s Passions: Dream Big Nail Art
Creating your own at-home nail art not only saves you money, it can also be a lot of fun. Experiment with different DIY nail art techniques to create designs and patterns that let you express your own personal style more than any salon manicure ever could.