Beauty
How to Remove Gel Nail Polish
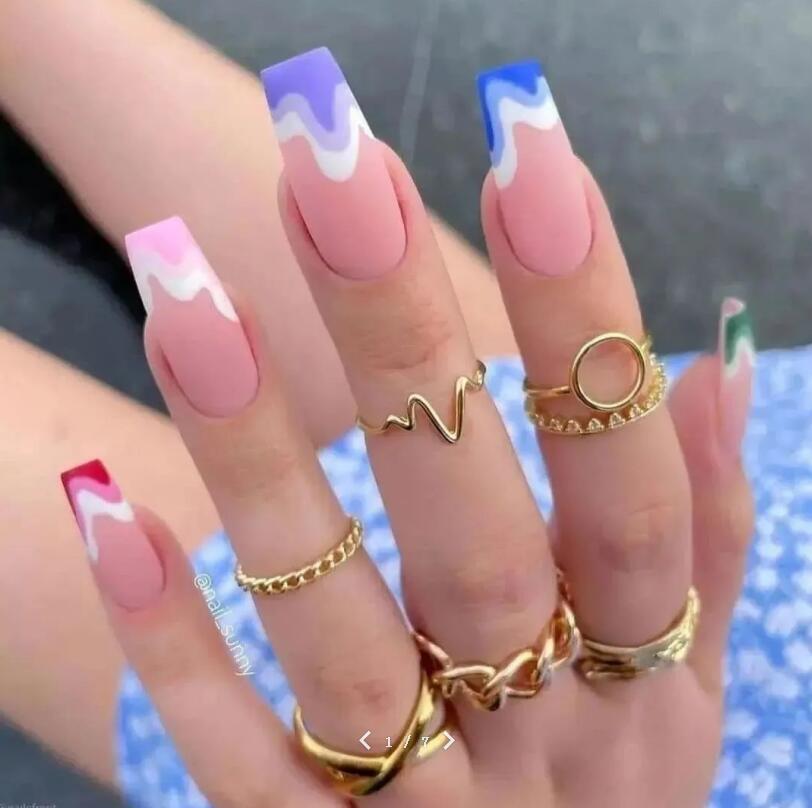
Gel nails have become an increasingly popular choice for those seeking an ultra-glossy, chip-resistant manicure that can last for (in some cases) up to four weeks. A gel manicure (also known as “shellac”) uses a combination of gel polish and UV or LED lamps to “cure” the polish, setting it onto the nail.
The ingredients in gel polishes are designed to adhere to the nail more tightly than conventional polish, meaning they can withstand daily wear and tear with minimal-to-no risk of flaking or chipping. The downside is that they can be especially difficult to remove, especially if you are used to using traditional nail lacquers.
You can choose to have your gel manicure removed in a salon, but if you want to do it at home, it’s important to know the correct procedure to avoid damaging your nails. To make sure you enjoy your gel manicure while protecting your hands and nails, we’ve put together this guide on how to remove gel nail polish safely.
Preparation:
This process takes around 30 to 45 minutes, so to avoid smudging your work, schedule this when you’re not busy. Before you start, you will need:
- A nail file (180 grit is best)
- A nail buffer (ideally 220 grit)
- A pot of petroleum jelly
- Cuticle oil
- Cotton balls cut into pieces about the size of each nail
- Acetone (acetone-free nail polish remover may not be strong enough to remove gel polish)
- Plastic food wrap: Some prefer to use tin foil for this part of the process, but plastic wrap creates a tighter seal to avoid acetone leaking and is less likely to scratch your nails.
- A gentle hand soap, ideally fragrance-free.
Always protect any surrounding surfaces when using acetone, as it can strip varnish or other coatings from furniture or other surfaces if it leaks or spills.
How to Remove a Gel Manicure
This process involves soaking cotton wool in acetone before applying it to your nails (not your skin) using plastic wrap. Working on your second hand with already-wrapped fingers can be quite difficult, so it’s generally best to work on one hand at a time, or ask someone to help you.
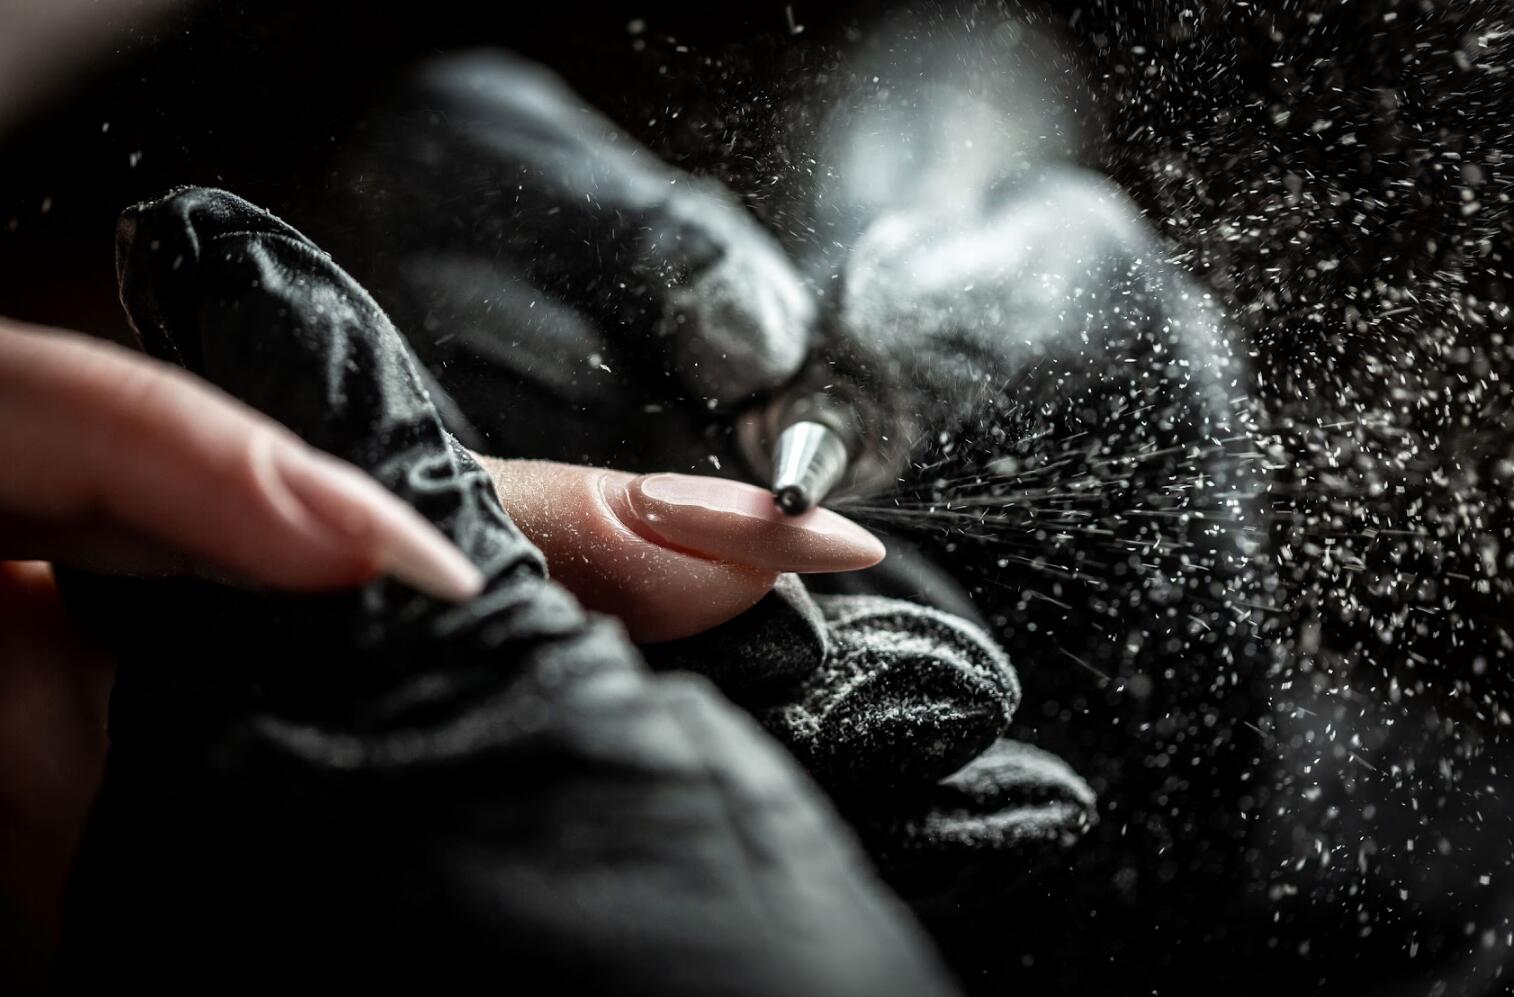
- Take your nail file and lightly file off the top coat of the gel polish – just enough so that it breaks the seal of the gel and removes the shine. This will make it easier for the acetone to break down the cured lacquer.
- Next, apply a thin layer of petroleum jelly to your cuticles and the skin around your nails to protect them from the acetone, as this can cause irritation, redness and potential damage if it comes into direct contact with your skin.
- Cut your cotton balls or strip of cotton wool to the size of each nail to prevent the likelihood of any acetone accidentally getting onto your skin. Measure each piece against your nail to see whether it will fit correctly.
- Soak each piece of the cut cotton wool in the acetone, before applying it directly to each of your nails, one by one, wrapping each fingertip in the plastic food wrap.
- Leave the wraps on for around 10 minutes, after which the majority of the gel polish should be removed. Remove and wipe off any remaining excess gel polish with a washcloth soaked in warm water, taking care to only rub the nail – not the surrounding skin.
- Next, wash your hands (or feet, if you are removing a gel pedicure) with warm water, using the gentle hand soap.
- Once all the gel polish has been removed, buff your nails gently and follow by applying cuticle oil to rehydrate the skin.
- Next, rub petroleum jelly into your cuticles and the skin surrounding your nails. Applying this way day for the following seven days can help to rehydrate and protect the skin around your nails.
Cuticle oil is an emollient that absorbs into the skin, while petroleum jelly is an occlusive, forming a barrier to help retain moisture. A third type is a humectant or hydrator, oil-free formulas that bind water to the surface layer of the skin. Hand cream typically offers a combination of hydration and protection: for maximum moisture, apply before wearing cotton gloves overnight.
Staying Safe and Healthy
Gel polish is beautiful and hardwearing, but not without risks. While the polish itself is not considered carcinogenic, repeat use of UV lights (as with the use of other UV salon lighting such as sunbeds) can increase the risk of skin cancer and premature aging.
The American Academy of Dermatology (AAD) advises using a water resistant, broad spectrum sunscreen with an SPF of 30 or above to your hands before your nail treatment, or using dark opaque gloves with the fingertips trimmed off.
Polishes can cause nail plates to dehydrate and thin, leaving them weak, brittle and even painful. Remember to also take a break between nail polish treatments to give your nails time to breathe and repair. It’s also important to be able to see your natural nails regularly as they can also be good indicators for certain health conditions such as nail tumors.
Alternatives to Removal Using Acetone
Never peel or bite off your gel nail polish: the first method is likely to strip away a layer of the nail itself, leaving your nails weakened and damaged. With the latter, there is a likelihood you may inadvertently ingest some of the gel polish, which could make you unwell.
Some places instruct you to use an orange stick or cuticle pusher, but where possible you should try to use gentler removal methods, rather than mechanically trying to force the gel polish off your nails.
A better alternative is to grow out your gel manicure, trimming them regularly to gradually remove the gel polish. This however requires considerable patience: it can take around six months to completely grow out gel lacquer on the fingertips, and 12 to 18 months for toenails.
Growing Out Your Gel Manicure or Pedicure
This process can leave nails looking unsightly during the growing-out period, but thankfully there is a solution: you can use a conventional nail polish to create nail art, as first shown by Floridian hairstylist Olivia Smalley in 2020 when lockdowns left her with an overgrown gel manicure.
Smalley used a glitter polish to fill in the space between her cuticle and the grown-out gel polish, achieving a pretty reverse French manicure. You can also use a contrasting shade to provide a two-tone block color effect.
One benefit of using glitter polish is that the flecks of glitter used in the polish can help obscure any harsh demarcation lines between the polish and nail. It can also be difficult to remove, so once your gel manicure has grown out, repeat the same process of removal given in the above steps with nail polish remover and the plastic wrap.